Sunday, 28 August 2011

Kommander Starkhov

Its been a while since my last post and I'd love to say I've been busy in the inbetween.  Actually I have been busy and with a good amount of wargamming and regular work, I've been to Throne of Skulls (ToS) at Warhammer World and played on average a game a week here and there.  Mostly its been Warhammer 40k but my painting and modeling has strayed far and wide.

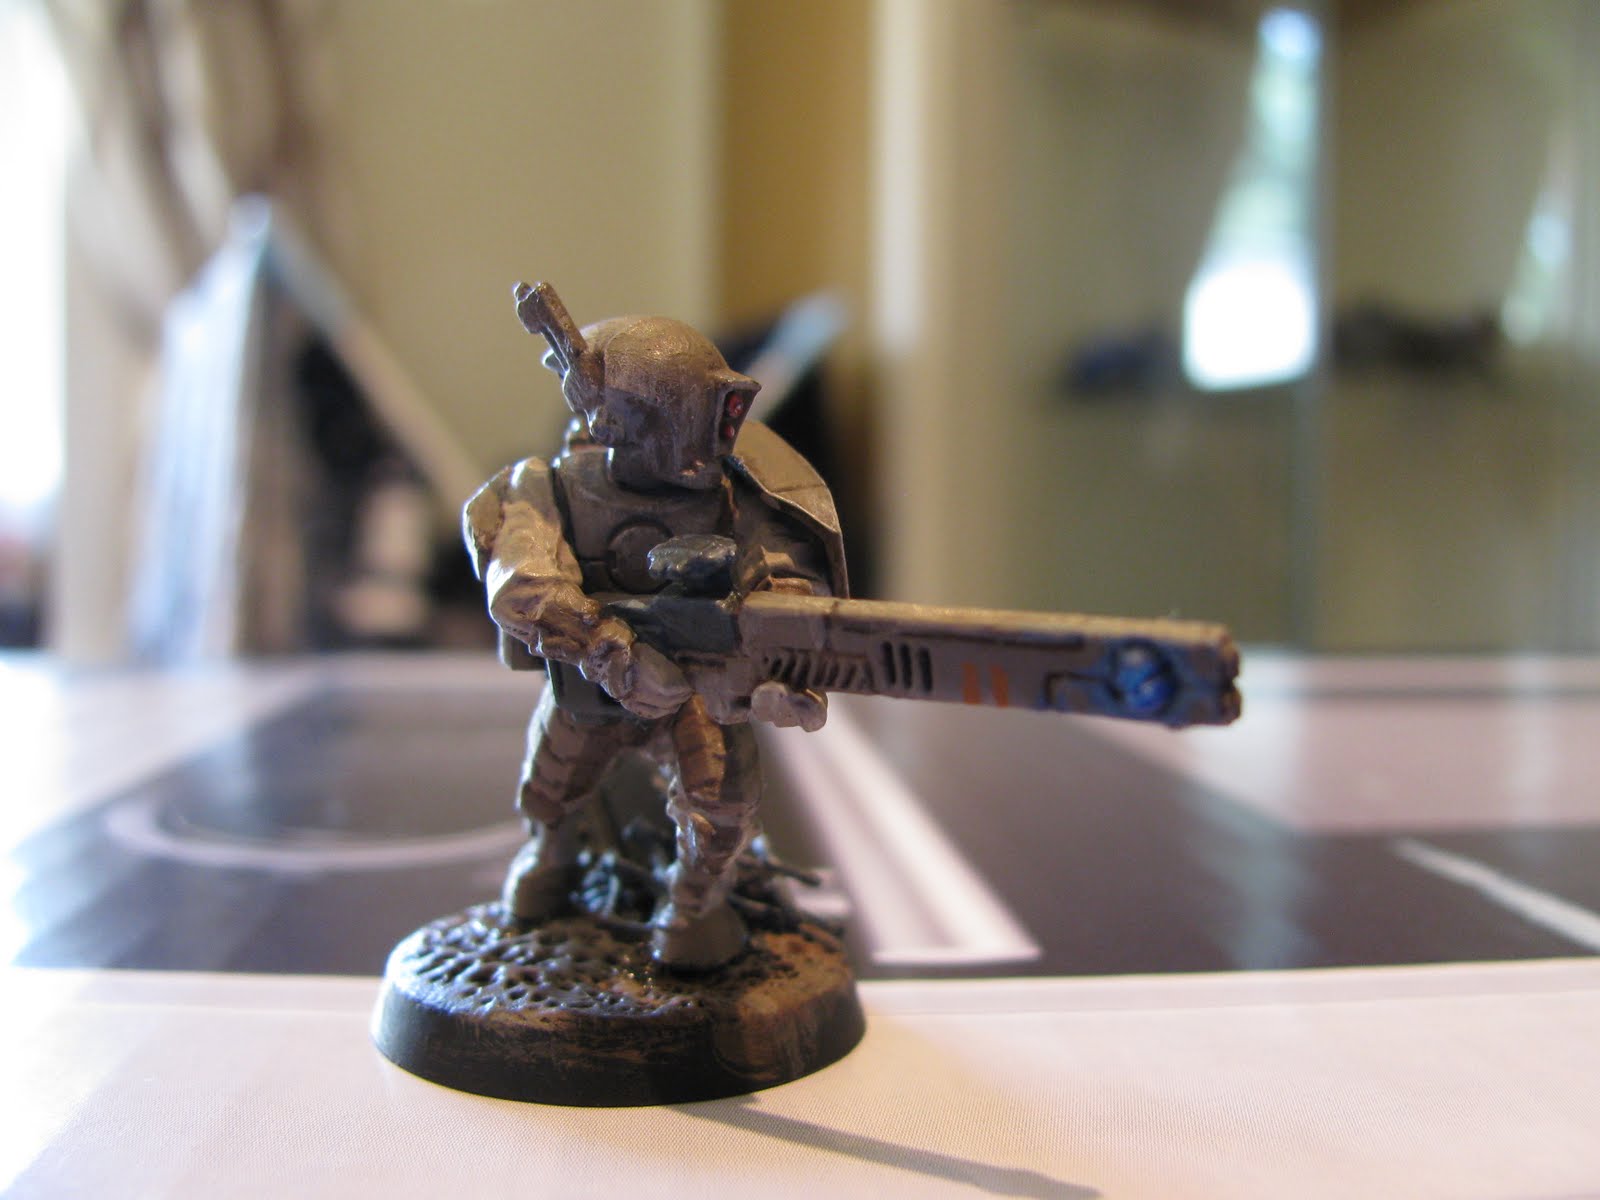
A major project I've worked on has been a scenary project (more on this another time) but smaller paintaing and miniature Mondays have been one offs for some other game systems I like the models for.  Firestorm Armada, Warmachine and Infinity are all in the works mainly with disperate models that have just caught my eye but will eventually lead to forces as I find people to play with.  This could well build into a open letter to Games Workshop and no doubt will in a future post but for now I'll stick to the paintaing side and Kommander Starkhov.

From Warmachine Khador a great model with a good pose.  As with 99% of the Privateer Press metals I've worked with the model does have some problems with flash and sculpt lines as well as the detail not quite looking crisp.  The overall quality though is not bad and the model itself scultped with a lot of character and dynamism.

Painting wise kept to a fairly simple pallet of greys and browns for the armour using faction colours as spot colours to hold the whole thing together.  One issue which is esspecially true with metals is chips.  I made the mistake of using an old pot of citadel  Matt varnish when done.  This has turned out to be a dirty lie as the model is now covered with a perpetual sheen.  Purity seal would have been better but not a strong so I'll be looking for another model protector.

Only other thoughs is that the models details lend themselves far better to watering paints down (especially if using citadel, it then becomes essential).  This has worked well on the coat and leather but lost slightly beneath the varnish.  applying directly can be seen on the metal of the gas mask, not great as it comes across splotchy.

On the whole great fun to paint and not too time consuming.  Great knowing that on top the war jack I've already done I've only one other model to paint before a first game with a fully painted force (more fuel for the open letter).

Looking forward to playing warmachine but also looking forward to trying a different style of minitaure as well.  Next up, Firestorm Armada.

Wednesday, 29 June 2011

Marines

To prove I have other forces my Crimson Fists took to the field against Orks tonight with a 2/1 loss on objectives.  Still like the force and think differences in how I used them could have made a difference, but fun to play as at least with lots of options and maneuverability.

HQ - Kantor
Troops - 2 x 10 man tac squads with razorbacks, melta and missile + sarge with power fist
Elites - sternguard squad in a razorback acting as Pedro's squad
6 man terminator assault squad with thunder hammers and storm shields (might swap a couple to lightning claws)
1 dread with assault and missile launcher
Fast - 10 man assault squad with power fist
2 x landspeeders with multimeltas and heavy flamers.

Fast force with no long range hitting power but lots up close.  Kantor turns even standard marines into a close combat choice by giving everyone within 12 an additional attack so assault terminators, sternguard and assault marines are pretty hard hitting with his motivational presence.  The land speeders run interference and snipe targets whilst the terminators advance on the largest threat and soak fire.  Seems to work OK though some weaknesses and gaps, still nice fast force that can deliver fire where its needed and assault when it isn't enough (even took a few Orks out in assault phase).

Biggest weakness?  'bunker' squads designed to soak wounds can really stall this army as aside from the hammers there isn't anything to reliably overcome feel no pain and multiple wounds but at least it has the speed to avoid these if needed.  And with a loss to the army's record how can anyone doubt their efficiency?

Tuesday, 28 June 2011

Broadside and Tau

A while back I converted a plastic rail gun from a few fire warrior and crisis suit weapons.  I also said I wasn't going to be carrying on with Tau force but I'd forgotten why I wanted to start in the first place, because I actually want to paint some Tau models.  So here it is, a little late for Miniature Monday but still, my finished Broadside and Fire warrior.

The colour scheme is Cathan Brown with Khemri brown and Komando Khaki highlights.  Main things I'm pleased with is the dirty and weathered look, the chips and marks on the armour add to that.  Start with the lowest base (recess) colour and apply to the edges where wear will occur.  I used Boltgun metal on the edge and outwards but leaving some of the darker paint work exposed.  Finally highlight with mithril silver to bring out the edge and highlight the chip.  To blend it into the model a bit more and prevent it looking too fresh I then washed it with devlan mud (a wash used in other areas of the model) and lightly dry brushed the medium coat (Khemri Brown) back over it.  Effect looks good and you can alter how recent the damage appears by how much of the lighter silver you use and how much you drybrush it back into the other colours.

Only other attempt is at directional lighting with the power cells on the rail gun and pulse rifle  doesn't look right and not blended enough into the model.  Mainly tried mixing the base coat with the base blue and washing it around the light source then mixing the base highlight with the blue highlight and highlighting in areas around the light.  Not bad for a rough and ready way to do it but leaves an uneven look that's patchy, something light falling on an object isn't.  More practice but enjoyed these two and eyeing up other Tau units now.


Saturday, 18 June 2011

Smoke Plumes and Wrecked Vehicles

I've been wanting for a while to make terrain that adds character and story to a battlefield, something that gives the feeling of a battle in motion.  Burning fires and the smoke from exploding ordanance or mines stick in my mind as something I'd like to try representing.  The smoke plume from a burnt out vehicle especially as all to often a tank is destoryed and removed with little or no evidence it was even on the field to begin with.

There are two types of feature i'm interested in then, small scale plumes from a single explosion or 'burst' and longer, ongoing fire effects.

Starting with the former I used tree foliage flock (I used autum folliage of reds and orrange so the red could show through), several strips of wire, a small coin (a penny) and a round base.  the wire strips were cut to around 20cm in length.  Double the strips back on each other and wrap them round eachother to make a shape about 10cm in height.  One end coil into a stand and glue onto the coin using supper glue or hobby tack (I used PVA which works too).  Glue the coin onto the round base and leave to set dry.  for more stability you can lump modelling putty over the top of it all to set the wire in.  Top tip is to absolutley make sure its all set before moving on, if it somes off the base its a pain to reattach latter.

Liberally spread PVA along the entangled wire and attach small clumps of folliage.  A good technique is to take a strip of folliage and wrap it arround the wire, working your way up untill the whole thing is covered.  Keep pressing it all tight against the wire and add more to any sections showing.

Once dry use black spray paint and aim downwards, not hoping to cover it all but covering the top and side surfaces leaving the underside (reds) free to show through.

The second kind of plume is an ongoing fire like that from a burning vehicle.  I found a guide online suggesting using LED tealights and pillow stuffing.  Both are available at hobbycraft in the UK for about £2 each.

To build takes less than a minute but does need a glue gun.  Run the glue around the sides and tip of the tealight.  Grab a handfull of the stuffing and shape into a column or plume.  Force the plume into the glue and add glue to compress or shape it till yo have a natural, near vertile plume of smoke.  Again, spray with black plaint from verticle focussing on the top of the plume leaving the base more white and clear.  Once dry simply place on the wreched vehicle and turn the light on.

Bloodied but unbowed the Crimson Fists 1st company continue to advance
The Razorbacks explode under focused fire from mortar and artillery
1st Company Veteran strides through the remains of his transport shrugging of ordanance as he advances
By making larger or smaller blumes you can represent wrecked sponsons or add a collection directly onto the field to show a dangerous terrain minefield or just burning wreckage from earlier in the battle.  Makes a good scenic backdrop and will have to see how it works in game

Tuesday, 7 June 2011

Its been a While

Its been a good while since I've had time to paint or model anything for any of my hobbies due to work and other pressures.  A lot has happened to the hobby in that time with reams of comment written on forums and fan sites but I think the best summarising of it all I've found so far is this open letter to Games Workshop.  I agree with pretty much all the points and would love to see a company that produces a product I love and has done for many years change some of the mistakes that are driving people away from the brand and towards other games. 

Speaking of other games...  With the Tau on hiatus due to financial constraints and the Crimson Fists fully painted for Throne of Skulls in July its time to return my attention to painting Warmachine.  The new target will be to have a model completed each week (and since my force has 4 models in it shouldn't be too hard) starting with Jack.  Pictures to follow. 

Thursday, 5 May 2011

Bases and Faces

The long road to Throne of skulls is on and the project is set at building a 1500pt Tau list in time for it from scratch.  I have a 3000pt Tau force already but it was the first army I ever collected and painted (for 40k at least) and It's been a dream to go back to repaint or redo the force to a new, higher standard with the techniques I've learnt.  At the moment I'm looking into colour schemes and  few spring to mind but nothing final.  The only theme I'm sure of is fitting the army into an urban enviornment so with that said and painting stalled untill I've chosen a scheme I thought back to one of the best mantras I ever heard (GW manager of Solihul), bases and faces.  These two features really make a model, giving it a context and a focal point for detail.  Faces will come in painting but first I need to construct the bases.

An urban base is different from a more open or natural feature in how busy it is.  With little vegetation or plants there will be far more 'hard' features requiring painting and on display.  These hard features can be taken from a number of places, spare weapons and grenades or knives from sprus but even off cuts to form rubble.  I used off cuts from the Imperial Sector box of building components and small pieces of slate to fill in the gaps.  Height is another feature, building the base upwards adds to the feel of tumbling debris and cramped environs of an urban theatre.

To tie these features together green stuff is spread over the base and the pieces pressed in.  Texture is fairly straightforward with repeated jabs from a modeling tool.  There are no hard and fast rules but simply play around, I've chosen to make these bases before the models and intend to scult and position the model to whats around them.

Monday, 2 May 2011

Broadside

A problem I've had with the Tau army is the look of the crisis suits.  The torso has a sturdy feel but the legs are too spindly and the arms too immobile and difficult to give dynamism.  On the standard suits the look is pretty good overall but the standard broadside looks ungainly and top heavy.  The metal railguns are the biggest cause of the problem, difficult to pose and out of proportion with the rest of the model.  The sculpt quality isn't too high either with the long straight lines easily bent or ragged.

In the past I've converted my broadsides to a pose similar to the forgeworld models here.  This time I wanted to try a diferent pose and model it to fit in with the other foot slogging models in the army.  The metal railgun is too difficult to cut and pose so a plastic railgun needed modeling instead.

I went through a few variations, the barrel was made from a trimmed fusion blaster the the metal railgun end finishing the cannon.  The track of the gun is a pair of pulse rifle barreles cut before the sight.  The metal piece is too heavy and the rifles cant support the weight well and the whole thing is too long, almost the same size as the original.

This rifle has the fusion blaster as the base but with the end cut and moved past the track.  the Ammo cell was moved to the underside.  The rear powercell was taken from a crisis suit burst cannon and the antenna from a multitracker.  The only piece not in the original broadside kit is the drone controller node from the stealth suit.  It comes in much smaller and a strong rifle like feel.  Next it needs mounting on the model.

The crisis suit arms are very inflexible and needed to be almost completley rebuilt.  I'll carry on building and update as I go.